I love nutella, I love brownies, and I LOOOOVE easy directions with simple ingredients so it was a no brainer to repin a recipe for 3 ingredient Nutella brownies onto my Pinterest board. In case you haven’t experienced the heaven that is Nutella it is a chocolate and hazelnut spread. Almost two years ago I had never even tried Nutella preferring my chocolate in bar form. After my daughter was born I was dropping weight fast, having a hard time keeping my calories up and since I was nursing I was also panicking that breast feeding would be affected. Since Nutella holds a lot of calories in one little spoonful (of course) it was added to my husband’s calorie packed grocery list. I found many things to be quite tasty dipped into nutella, strawberries, bananas, graham crackers, any crackers, chocolate chip cookies, a spoon, you get the picture I am sure.
The directions for the brownies were extremely straight forward:
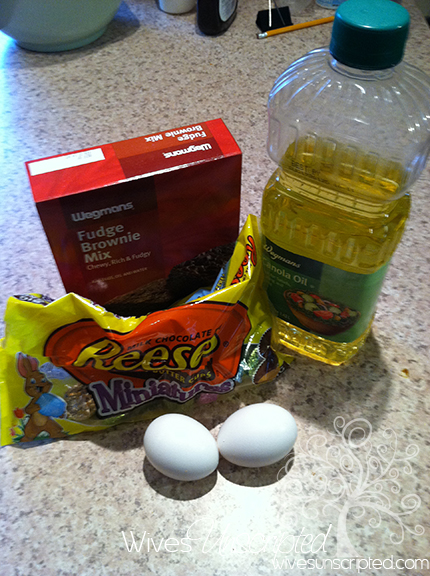
Ingredients:
1 cup Nutella, 10 Tbs of flour, 2 Eggs

1) Mash ingredients
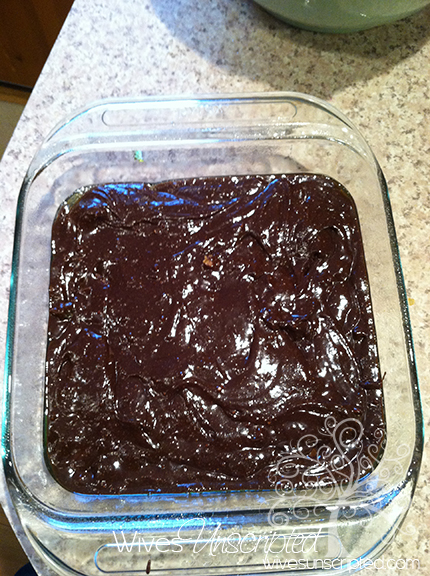
2) Pour into pan
3) Bake at 350 degrees for about 30 minutes(less time for muffins) or when center is done.
Yup pretty simple. This is what I did and how it worked for me. I did find the above directions pretty lacking.
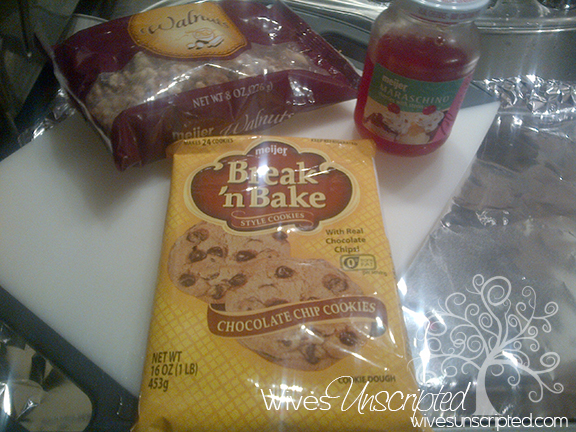
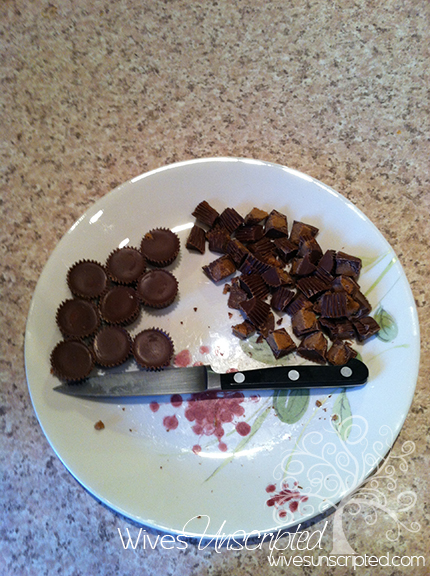
I gathered my ingredients and tried to decide how I would mix. Typically I like to slowly add my dry ingredients to my ‘wet’ ingredients but I knew in this case the nutella and egg were not going to blend well so I began by mixing my egg and flour then slowly adding in my Nutella.

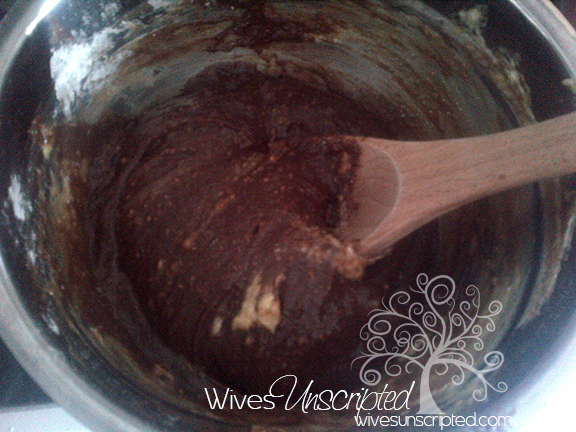
It was kind of a pain (to say the least)

For every gob of nutella I scraped into my mixture I thought “please don’t let me be wasting this entire cup of nutella on bad brownies.
I grabbed my mini muffin pan and very lightly coated with shortening followed up by dropping about a tablespoon and a half of mixture into each cup. I tend to fill my muffin tins level I don’t mind an overfilled muffin as much as I do an under-filled one though and so many baking directions tell you to fill a muffin tin about 2/3 of the way I did not do that here and they came out perfectly fine size-wise, I did end up not filling my entire pan though.
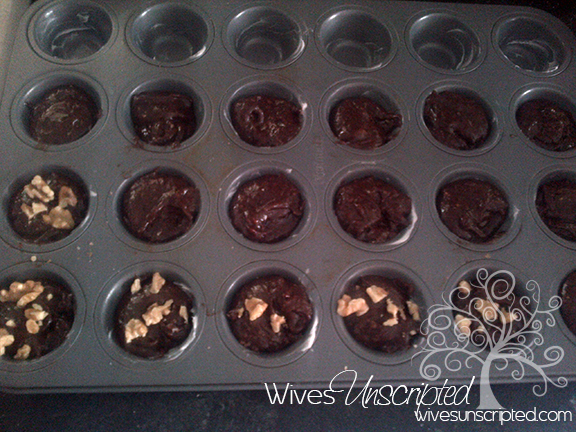
I set my timer for 20 minutes since I knew the muffins would bake quicker than a pan of brownie mix would and popped the pan into the center of my oven. Around the 15 minute mark I decided to take a peek which immediately led me to testing out the center with a toothpick since they looked so done already.

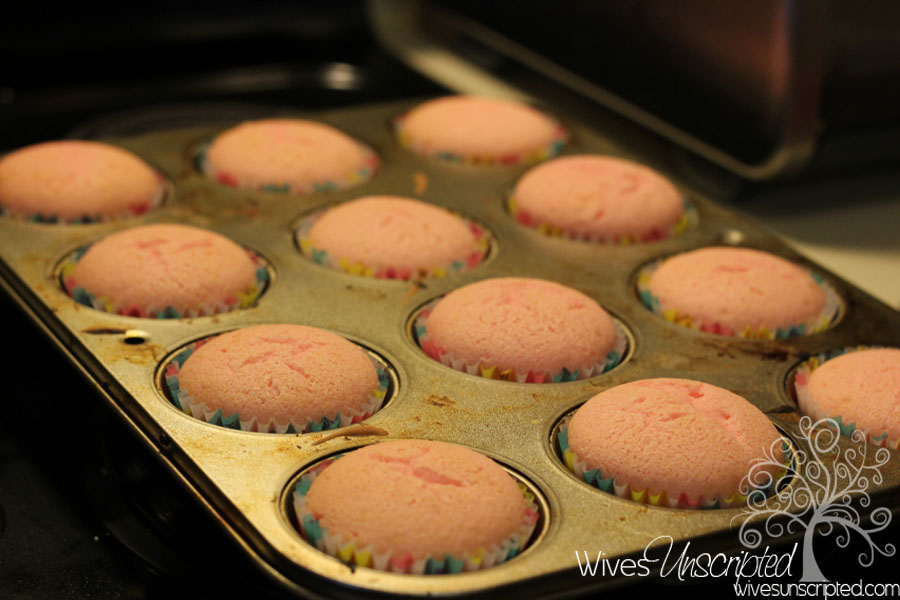
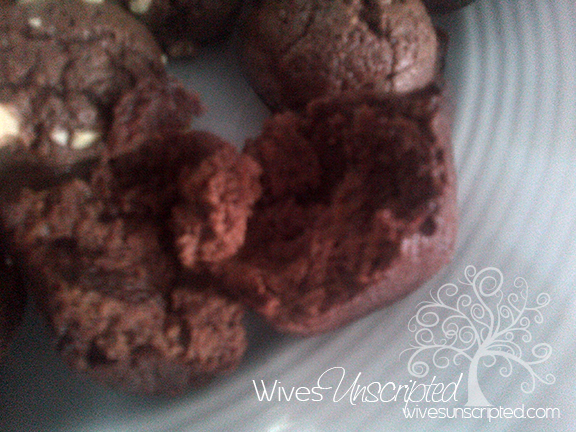
The tootpick did not come out clean but I decided I would not leave them baking for much longer before testing again. I then lost track of time and just before the timer ran out I pulled the muffins out, tested and they were done. They do look pretty good, don’t they?

I did find them to be a bit on the dry side so if I were to make them again I would set the timer for 15 minutes and test them more often or just make them in a 9 x 9 pan. Since they did not end up tasting all that chocolatey I have to wonder if some of the nutella I measured out was lost in the transition. I had a hard time getting it all into mix and used three or four utensils to get it all in leaving quite a bit of nutella residue on each utensil. I also wonder if I should not have coated my pan since one of ingredients of nutella is a nut after all and perhaps it wasn’t necessary. They did pop out extremely easy.
Overall they were okay but nothing mind blowing (considering they were made out of Nutella). I will probably stick to using Nutella as a spread and using a box or from scratch for my brownies.
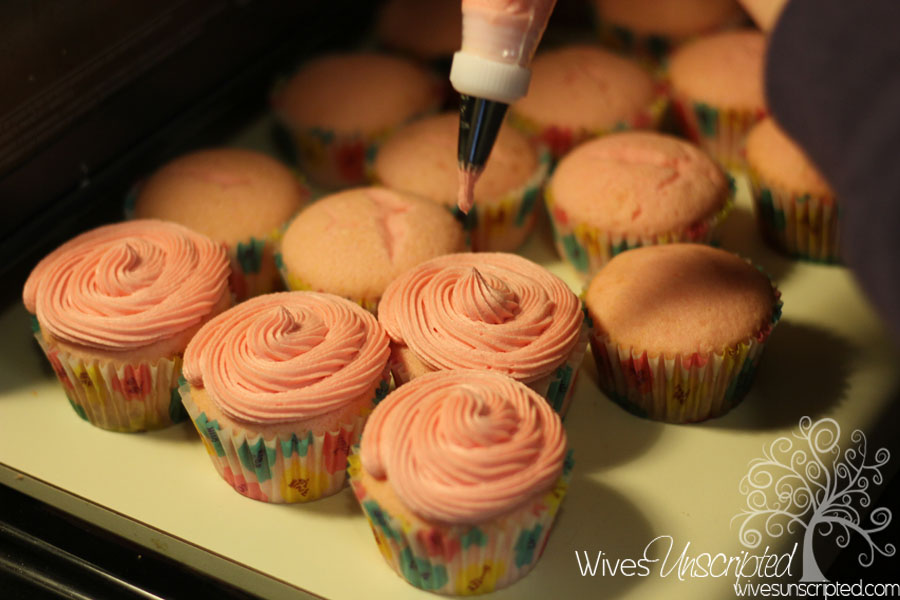
 Who doesn’t love Girl Scout cookies? Everyone seems to have a favorite whether it is This Mints, Trefoils, Tagalongs or my personal favorite, Samoas. Yum! Cookie, caramel, chocolate, coconut- the combination of flavors is just perfect together. Well naturally I wanted to turn my favorite Girl Scout cookie into a cupcake…so I did.