With Valentine’s Day quickly approaching, I thought I would share my version of the project for those of you who may still need ideas for gifts for loved ones. I made this project for my husband in October for our 3 year anniversary. I thought it would be perfect since we were taking a trip this year and limited our gift budget this year. I still wanted to give him something meaningful, so I looked around for a nice homemade gift. As I talked about at Christmas time, I love making homemade gifts for people. To me, there is nothing more personal than a gift made with my own two hands with the recipient in mind. So due to my limited monetary and time budgets (hubby is only out of town one night a week, and I didn’t get home from work until almost 8), I knew this project would be a great choice.
What you will need:
- A regular deck of cards – I had a spare one around, but you can buy cheap ones at the dollar store.
- Hole punch
- Cutting instrument (Some kind of paper cutter would be ideal, but scissors will do)
- Binding materials (I used binder rings, but ribbon, string, twine ect would be fine too)
- Paper to print your 52 Things on
- Glue
- Various things for decoration (glitter, stickers, rhinestones, ect)
Many of you I’m sure you have seen this project before. It’s been around on various blogs and pinned on Pinterest a lot. The craft part is really easy, it’s coming up with the 52 things that tends to take a while. I spent a few hours thinking about the 52 things I was going to include in my book. I ended up coming up with a few extra that I didn’t use (I did tell my husband about them later). Once you get going, you’ll see how quickly you rack up the number of items.
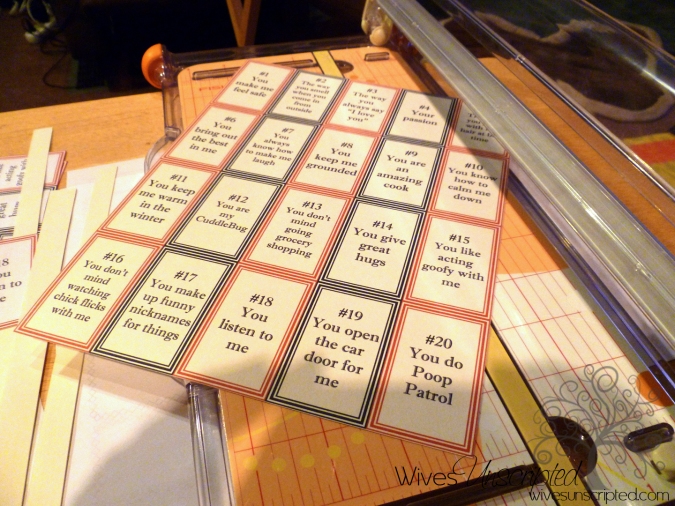
Many of the tutorials I found had templates included that I could have used for the project, but I preferred to design my own since I could. I wanted to make it fairly simple as well since I was limited on time. I just chose to use use red and black outlines. I typed in my 52 things, and printed everything out. I printed just on regular cardstock, but many tutorials use photo paper. I have a huge abundance of cardstock, so I just used that. And a little tip, if you want to alternate colors every other card, make sure you do your numbering right. I messed up the first time I printed and when I started laying every thing out before gluing, I realized my error and had to go back and retype, reprint and recut everything.
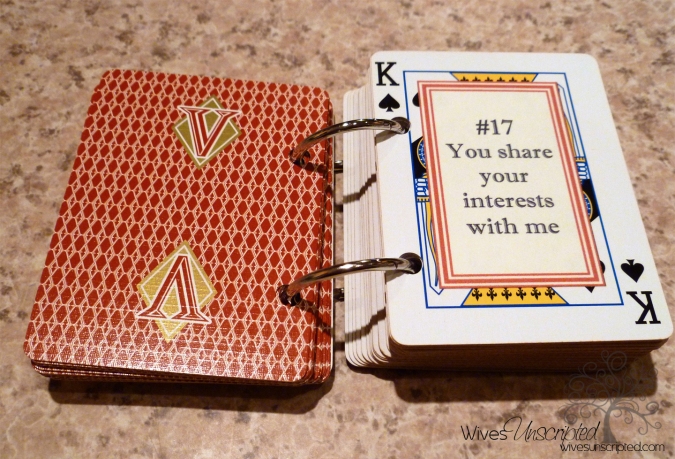
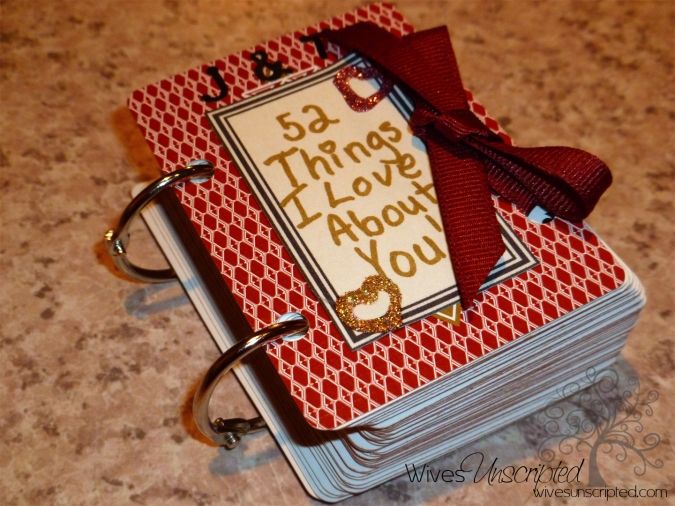
 I used my rotary paper cutter to cut them out(this is a godsend, if you don’t have one, I highly suggest investing in one. I bought mine for wedding projects 4 years ago, and have used it many many times since. Well worth the money). I also readied the cards by punching two holes on one side. I used a binder clip to hold two cards together while I punched the hole. That suggestion came from the tutorial on Peppermint Creative. It worked really well. I used a regular hole punch which was fine. Remember, when you are punching your cover card, think about which way it will be facing. I wasn’t thinking when I punched mine, and did it in the wrong direction. I “covered it up” by tying a ribbon through the holes. It worked, but I would have preferred it without the ribbon.
Once I had everything printed and cut, I set to gluing. Now I had seen on a few tutorials, it was suggested to use a tape runner for gluing. Maybe mine was too cheap, or I didn’t know how to use it properly, but that thing was a nightmare. I had to do a lot more work fixing the stupid tape runner than I should have. There was adhesive EVERYWHERE! Along with an over abundance of swear words from me as I fought with it. I also could have used 2 instead of just one because I ended up wasting so much. So next time, I would probably choose a different method for gluing, maybe modge podge, or glue dots instead. This is also why there are no pictures from that part of the process, I was a bit frustrated and didn’t really think about the pictures at that point.
 Once everything was glued I did a little decorating. I had purchased glitter glue at the dollar store, and had some letters hanging around at home from previous projects, so I used those. Or, leave it plain. Really you can do whatever you would like. That is totally up to you. Once everything was dry, I added the ribbon to disguise my holes.
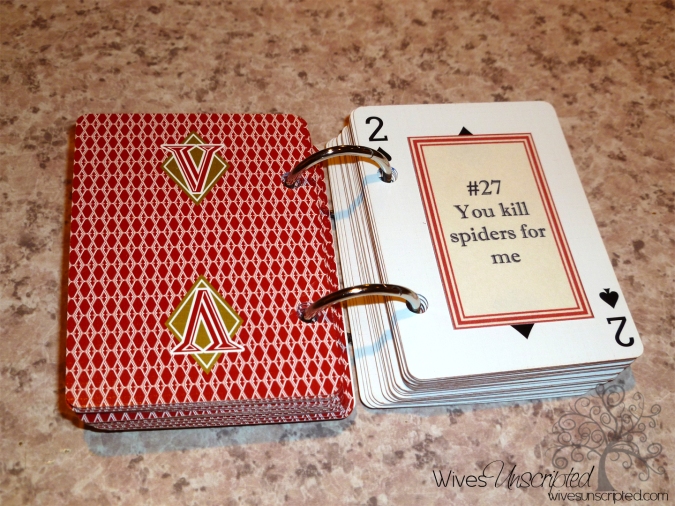
Last but not least, I assembled everything using binder rings. I found these at Staples, and they were pretty inexpensive.
Overall, this project was great and I’m really glad I chose it. The crafting, even with my mistakes and frustrations, was really easy. This might even be a fun project to adapt for a child to give a parent for a birthday, Mother’s/Father’s Day, or any day really. I enjoyed thinking of the reasons why I love and appreciate my husband. And even better, he enjoyed reading why I love him.
UPDATE: After receiving several requests for the template I used, I decided to add it here for you to download. The size for each rectangle is 1 1/2 x 2 1/2. I made sure to alternate each color and put the red outline on the black cards and black outline on the red cards. I used Imprint MT Shadow as my font.
PDF – 52 Things Template
If you need a different format, I might be able to get it to you. I do have the original InDesign file for those few that do also have that program. Please email us for other file format requests. I tried to create this in Word, and really it’s just not possible. There are a lot of free PDF editors out there to download if you don’t have Acrobat to edit PDFs. Or simply print it out and handwrite your 52 things.


What are the dimensions of your template rectangles that house the text? Also, did you use a special program to create them? Any chance you’d be willing to share it. I’m going to make one of these for my husband for our anniversary. Thanks!
LikeLike
Niki,
Sorry I didn’t reply sooner. I used a InDesign CS3 to create my templates (I’d be happy to share the template). You could use Photoshop or Illustrator as well if either of those were available to you. I just preferred InDesign so I could create multiple pages in one file. As for the size, it will depend on your cards you choose and the spacing they have. I believe mine ended up 1 1/2″ x 2 1/2″, but I’d have to look to make sure. I did play around a lot with different sizes to see which I liked more once they were places on the cards. If you want the PDF of the template, I can certainly send that (I think the InDesign file will be too big for email). Send an email to wivesunscripted@gmail.com and I’ll send it on over to you!
LikeLike
Beautiful job… and thank you so much for sharing the template….God Bless.
LikeLike
Notice the outside columns. They don’t alternate every other color; was this intentional?
LikeLike